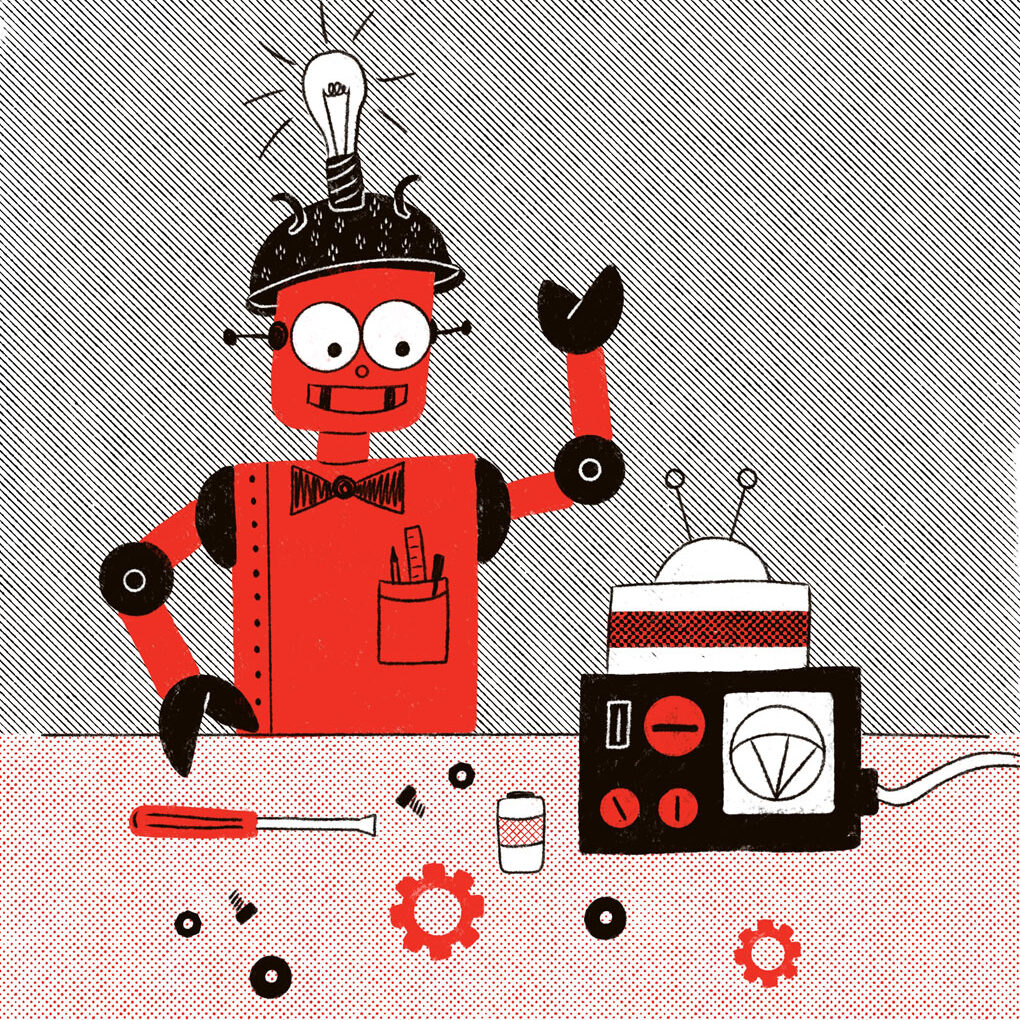
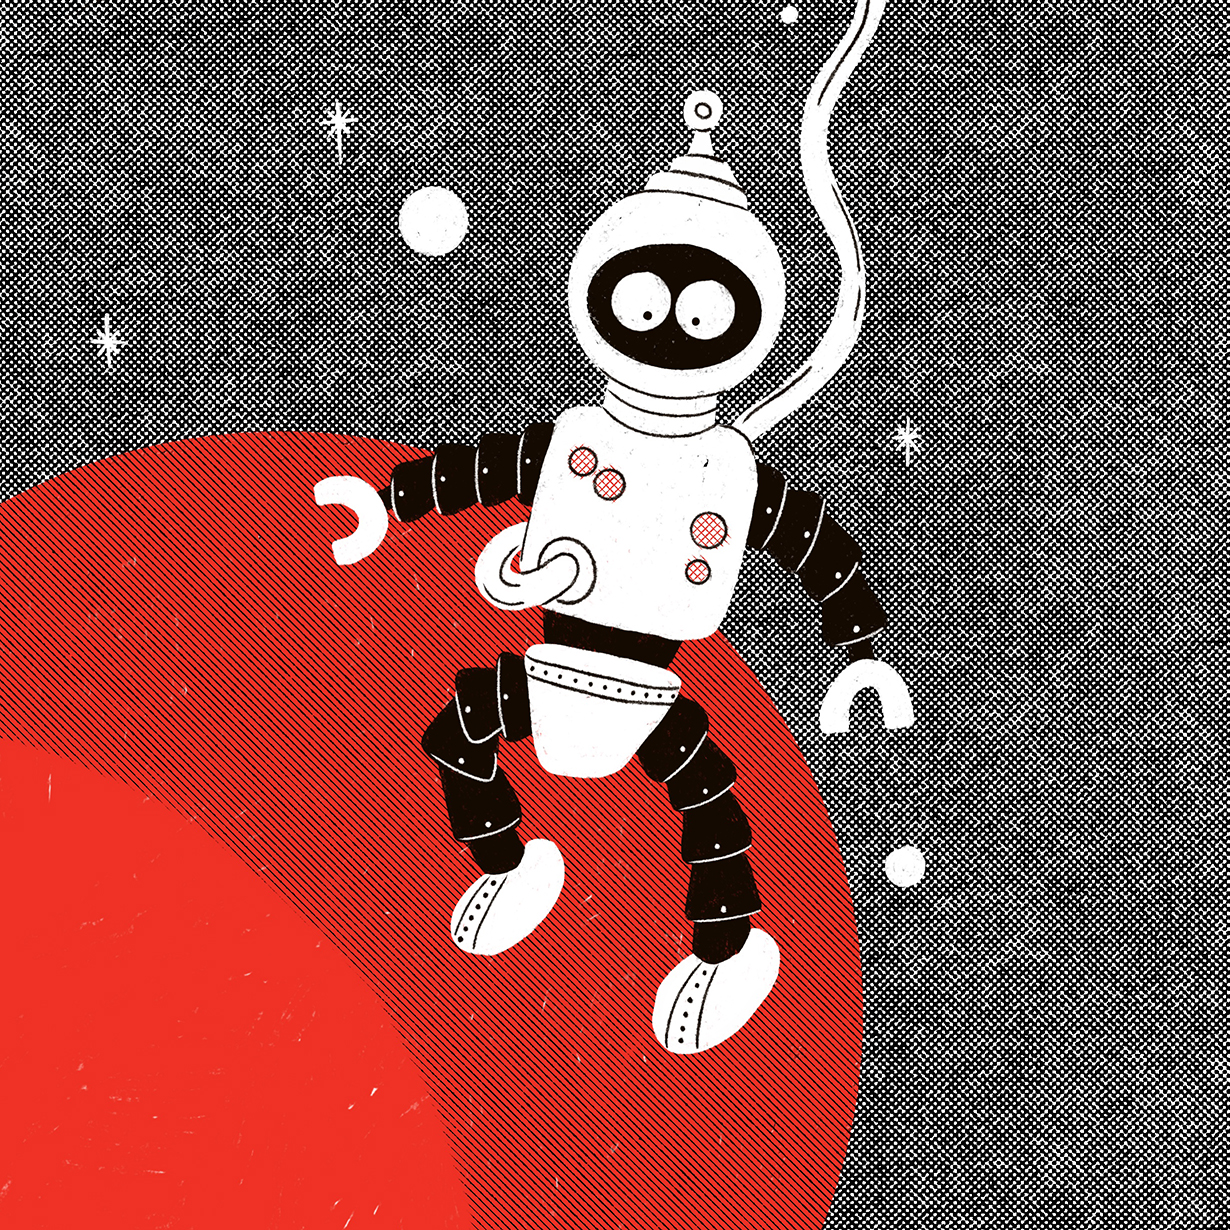
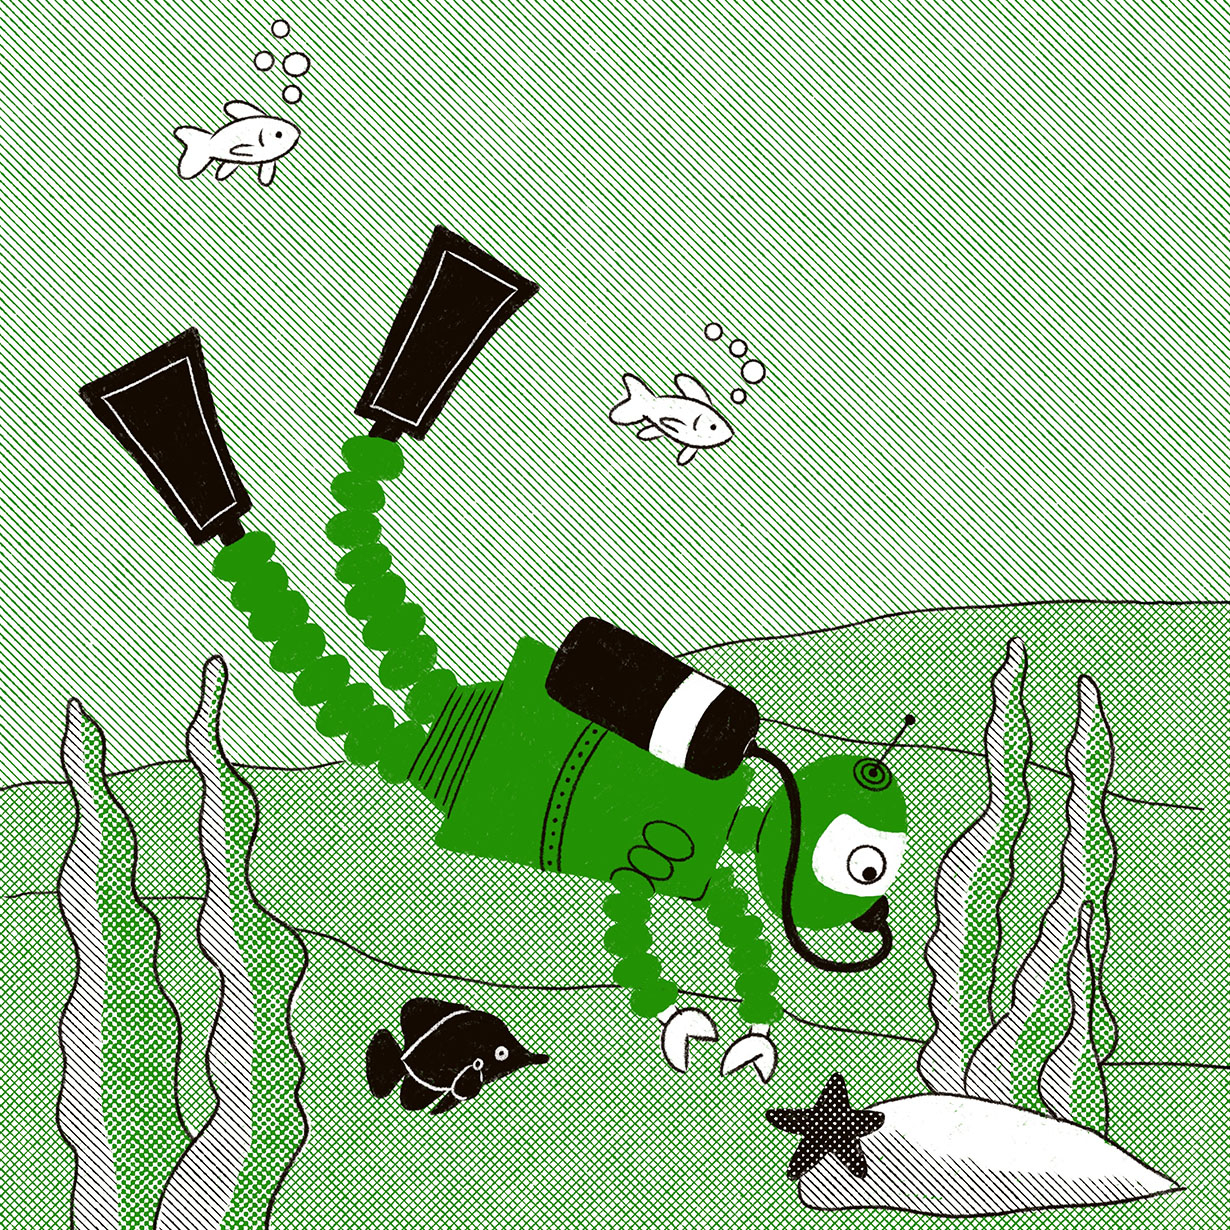
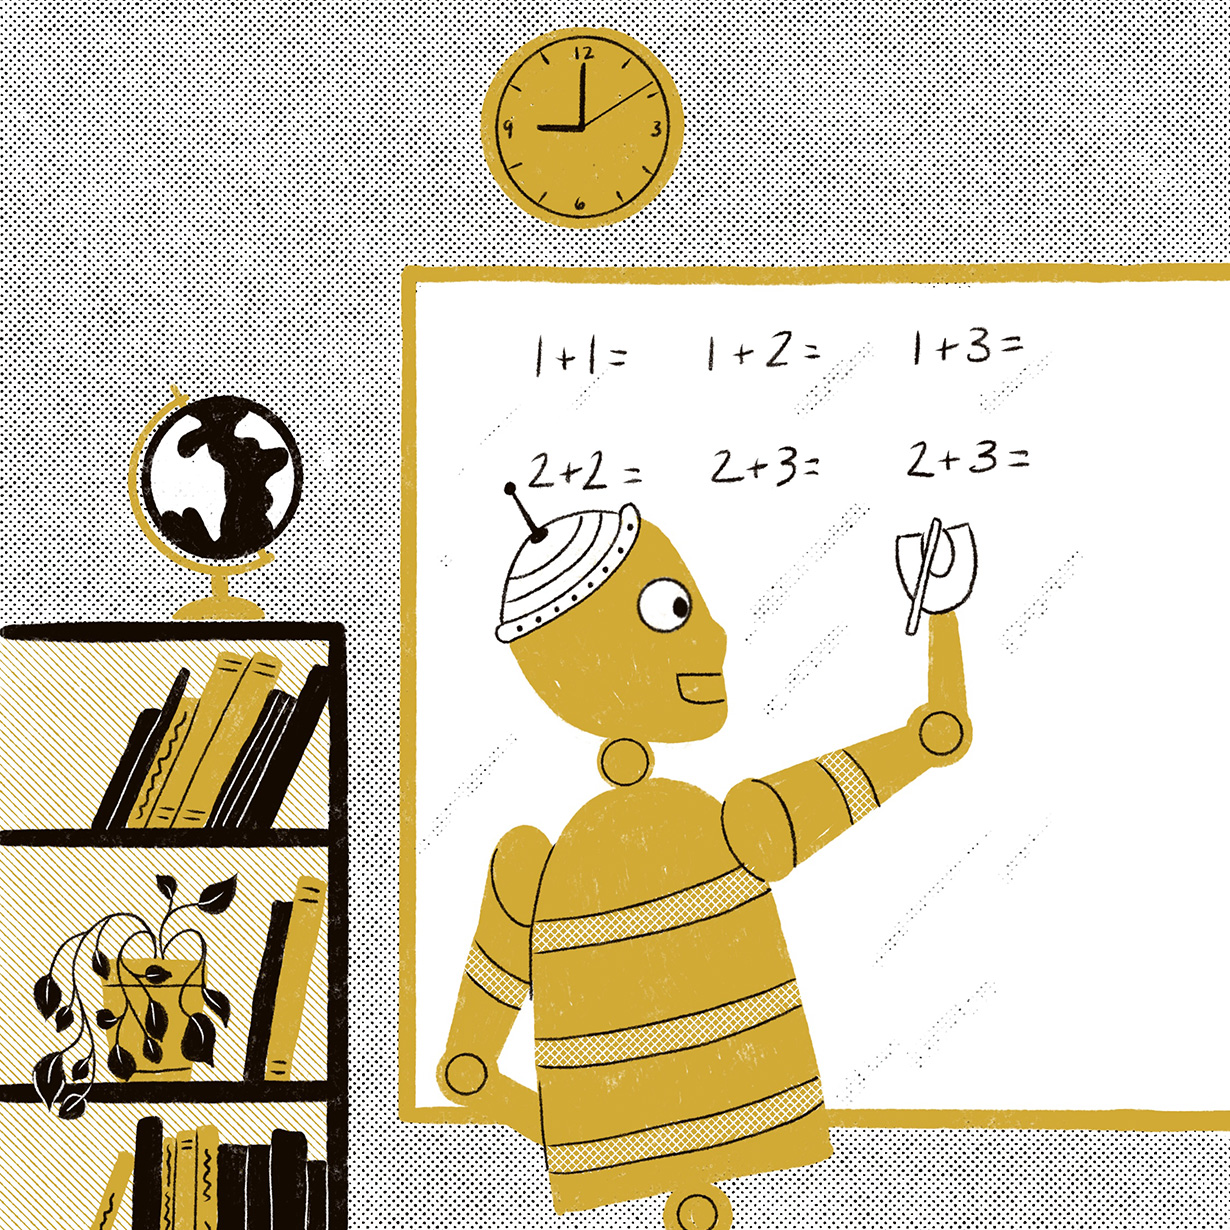
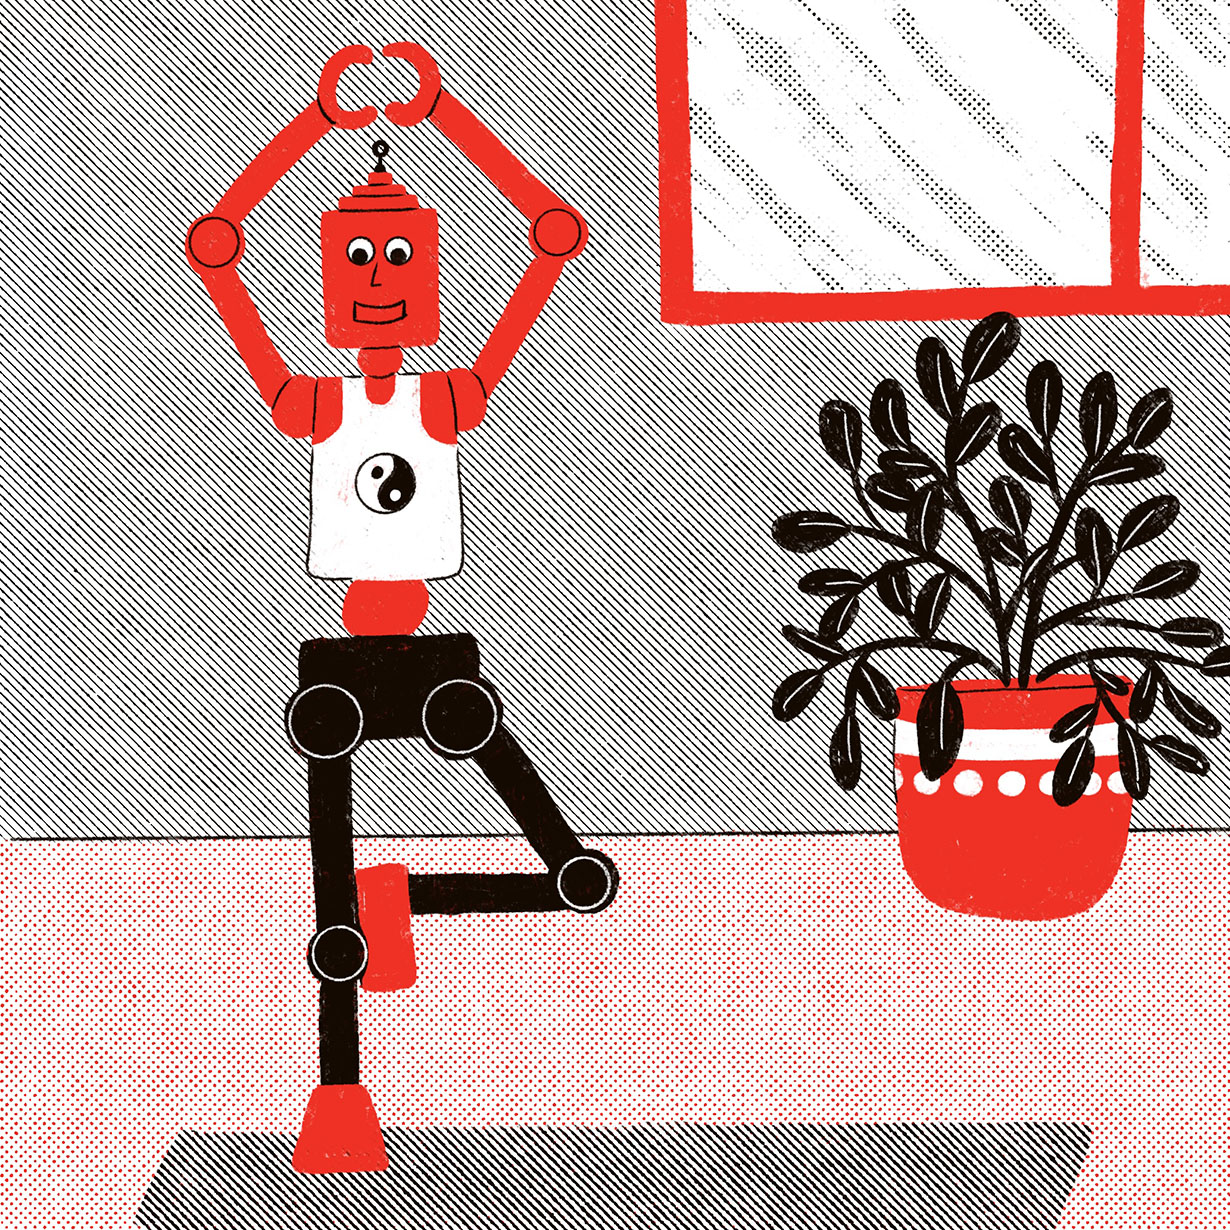
How I got from this…

…to this!

 I began by following The Style Class: Work Out Your Illustration Style in a Daily Project by Tom Froese on Skillshare. After completing the class I would have an A to Z project of 26 pieces! This class helped me refine my illustrating skills and hone in on a signature style of my own. The idea of completing 26 pieces of art in the same topic and style was a little intimidating, but also exciting. I couldn’t wait to see the finished project!
I first needed to decide what my A to Z topic would be. This took some time and a few failed attempts to come up with 26 good words to illustrate a topic. I finally landed on careers and listed out several for each letter. Then I went through and highlighted my favorites.
Some letters were really hard to find careers for and some had many options. I highlighted the ones I thought I would illustrate, knowing I would probably change my mind on some of them.
Another decision to make was the context, where would this art potentially live? I thought a children’s book or maybe a set of cards to play memory with. I also decided some things about the technique I would use based on the illustration style I’m drawn to and my current style of drawing. I limited myself to one or two colors plus black and white, using simple shapes and outlines with a vintage cartoon feel.
The next step was creating the Pilot Set!
Creating the Pilot Set
Following Tom’s process, I next chose four careers that I wanted to test out: baker, dog walker, hair stylist and mechanic. This was my pilot set, using these four careers to start making decisions on how the whole set of illustrations would be done. I took this time to create a few thumbnail sketches for layout and composition. There’s nothing refined about these, just getting ideas down. I used Procreate on my iPad and tried to come up with several ideas for each career. The baker was easiest for me to sketch several ideas, the others I did three thumbnails each.
You might notice that some of these characters look a little robot-like. I thought it would be fun to draw robots in all of the careers! I looked at some reference material and sketched out some robot parts and pieces!

Pilot Set Taking Shape
 Next, I chose the thumbnail I liked best and refined the layouts and added more detail. This started to define what each robot would look like and the setting for each.
After several days of sketching and re-sketching I was happy with the layouts and the general direction of my pilot set illustrations.
There would still be some details to work out as far as robot body shapes and their environment as well as refining details and choosing some colors to work with. At this stage I did a lot of experimenting with brushes, texture and color use.
Pilot Set Complete
To complete the pilot set, I decided on a color palette of four colors: red, green, blue and a brownish yellow. Each robot would be one of the main colors plus black and white. I experimented with using different half tone brushes to create not only texture, but contrast with lights and darks. I also chose the specific brushes and sizes that I would use for each illustration and created a folder for them in Procreate. This would make it faster and easier to switch between brushes and to keep all the line work and brush strokes consistent in size.
Next, I worked out the order of steps I would take to complete each illustration. This would streamline the process and make the rest of the alphabet easier and quicker once the initial sketches were complete.
These were by no means the final illustrations, I knew I would go back and make changes as new ideas and ways to improve the illustration came to me.
This project felt huge and a bit overwhelming but I knew if I kept focused on one thing at a time it would eventually be finished. It was exciting to have a goal of completing a large number of pieces that would ultimately come together in a children’s book.

From sketch to each color layer and the final piece.
This project was fun and challenging. Some of the robots were really quick and easy like the astronaut, and others, like the farmer, took much longer than anticipated. Most of them were revised several times, even after I thought I was done with them! I learned a lot about how I like to draw, and developed both a process and my unique style.
Here are a few of my favorite finished robots.
A Coloring Book is Made!
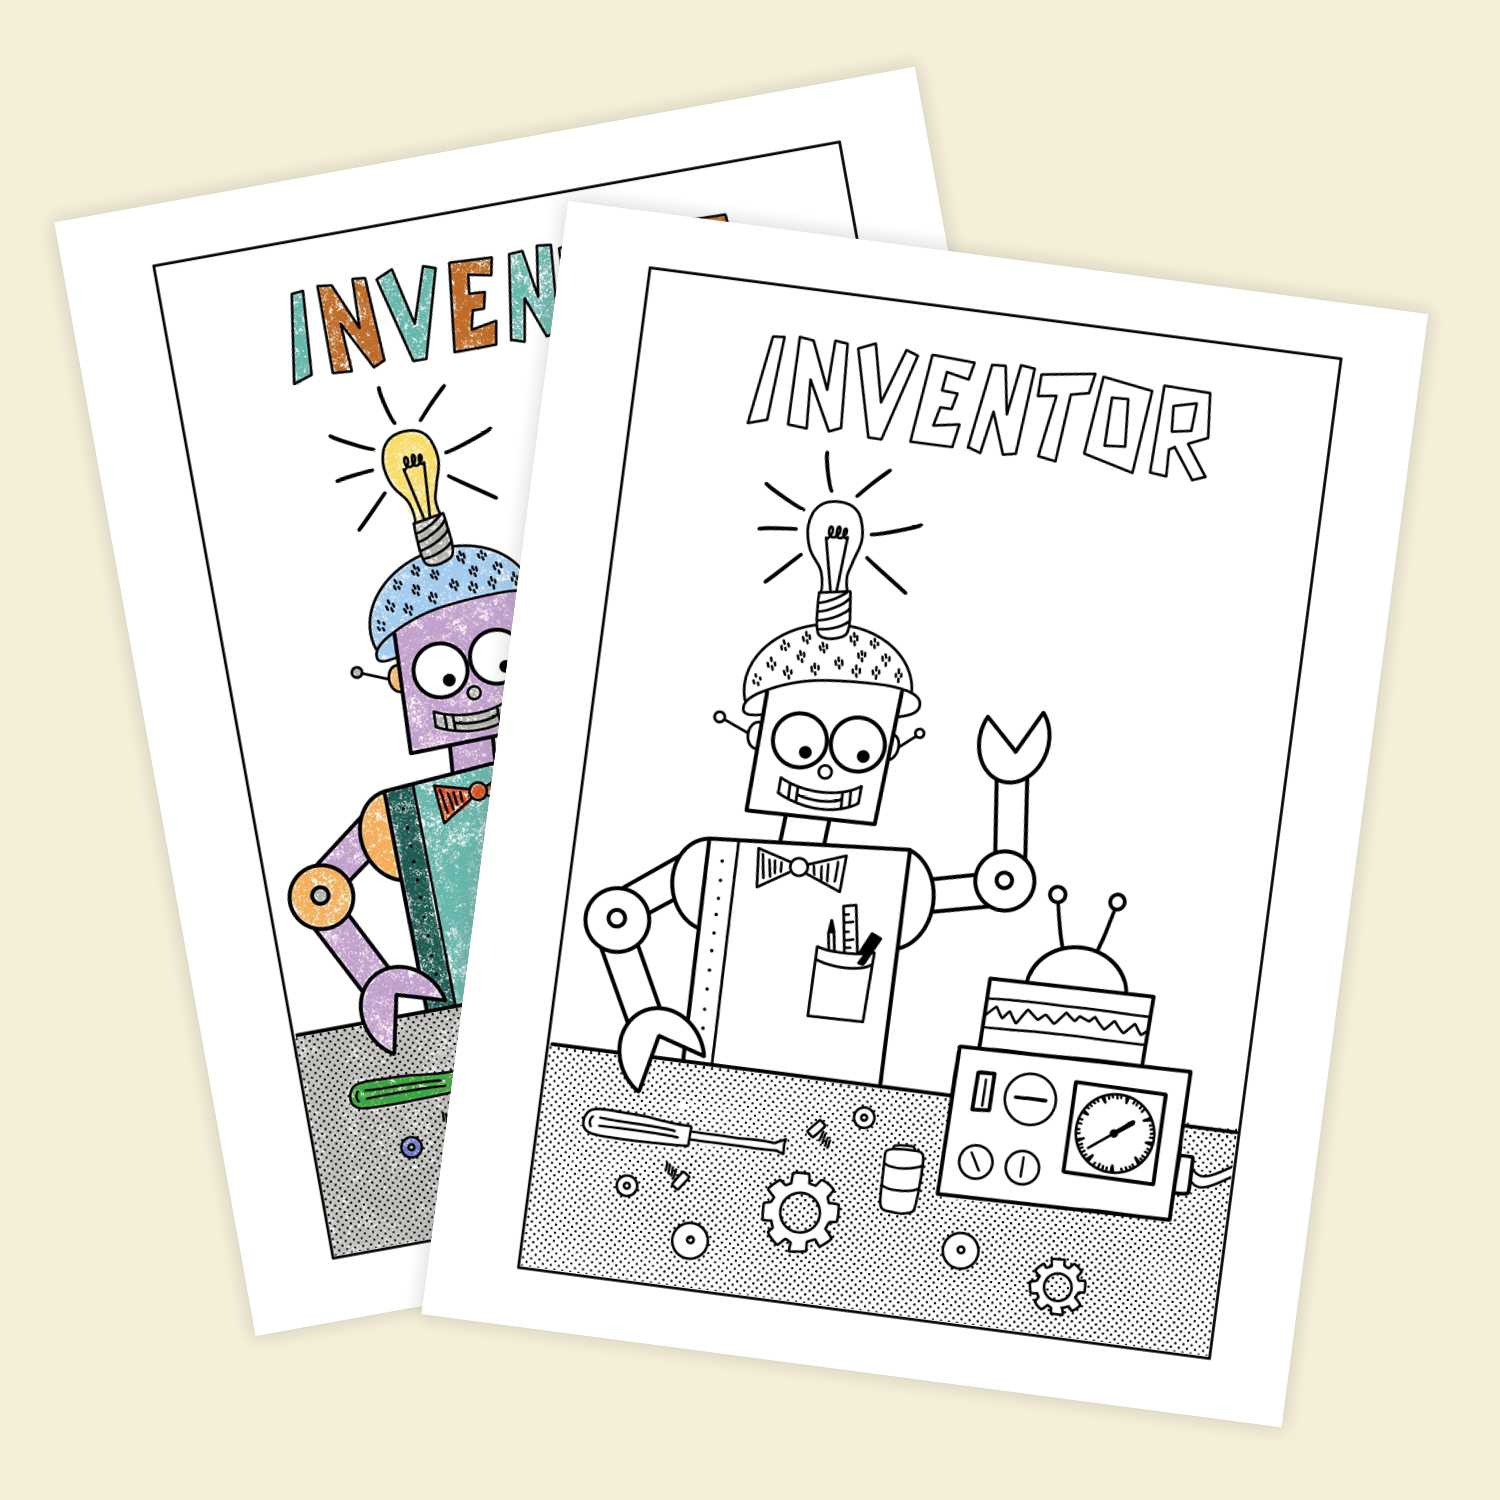
After finishing these illustrations and planning out the children’s book, I thought it would be fun to make each robot into a coloring page. I drew each illustration again at a larger size and hand-lettered each name then put them all together to create a coloring book.
Stay tuned for the children’s book. It is written and put together, just finding an option for printing and distributing!!
